Product List Mass Upload Tool
The Product List Mass Upload Tool is a great new feature. It allows you to upload a full-preformatted product list. This feature will be more beneficial to you if you have a very large product list.
We will be using a tab-delimited format text file, because it is one of the most universal format.
Since there are so many formats it would be impossible to walk you through every single format. Please follow the steps below.
Here is a step-by-step procedure on how to use the Product List Mass Upload Tool.
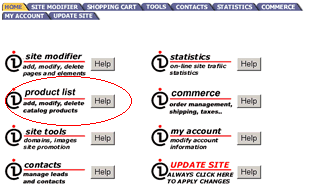
Step 1: Click on the shopping cart or product list image.(see picture below)
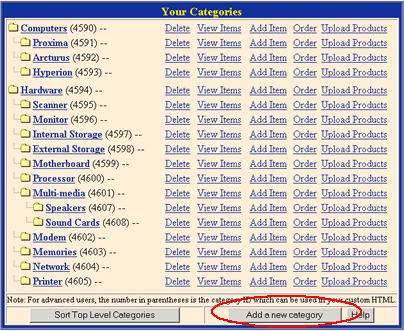
Step 2: Click the "Add a new category" button to create a new category for the products you will be uploading.
Note: If you already have a category to upload products into you may bypass steps 2 & 3.
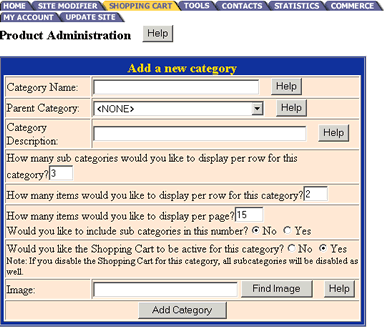
Step 3: Fill out your category information and click "Add Category" when complete.
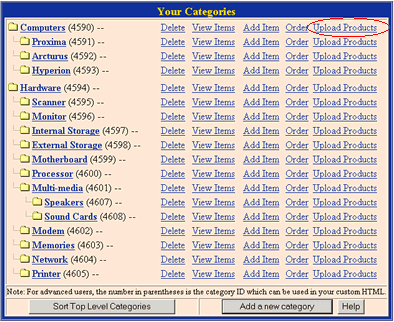
Step 4: Click on the "Upload Products" link next to the category that you wish to upload products to.
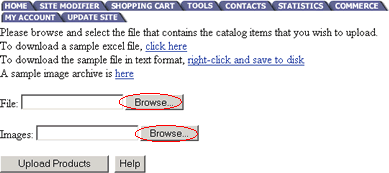
Step 5: Right click on "click here" link that's circled below and select the "Save target as" option. Save sample Excel file to your local drive.
Note: If you already have your data pre-formatted to the acceptable format you may bypass steps 5 & 6.
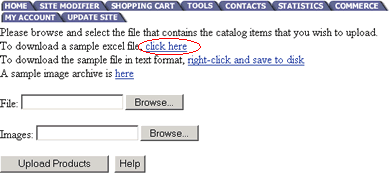
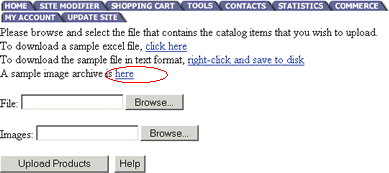
Step 6: Click on the "here" link to download sample .zip image file.
Step 7:
-
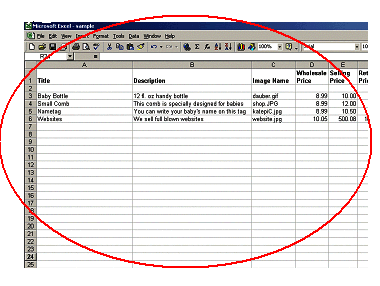
Open the sample Excel file to see how yoru data needs to be formatted.
-
Data from an existing database will need to be exported and saved in the tab-delimited format.
-
Data will need to be formatted in the exact same way it is in the sample.
-
Any extra data columns will need to be removed.
-
File names in the image name column must match the actual file name of image in the .zip file.
-
Once your data is completely formatted you will need to save the Excel file in the tab-delimited format.
Step 8 :In this step you must
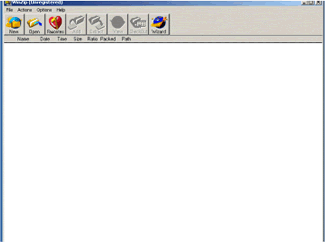
"zip" all the images that's included in your text file
above.
.Zip file can be created by dragging and dropping all images to be included
in the upload into the Winzip window. Save the file and you are ready
to upload.
Note: Any program that generates .zip formatted files will work for this step.
Step 9: Click on the "Browse" button to search local drive for the tab-delimited file to upload.
Click on the "Browse" button to search your local drive for .zip file to upload.
Once both files have been located you may click on the "Upload Products" button.
Step 10: You will receive a status screen once it is done uploading. Anything in red notates the data was not formatted correctly or there was an image missing from the .zip file.

Step 11: Check the list of uploaded products to ensure that it was done successfully.

Click "Update Site" when complete.
Click "View Site"
to view your new product list.